
Blog
How to Effectively Use Clay Masks for Blackheads and Clogged Pores: Practical Playbook with Real Examples
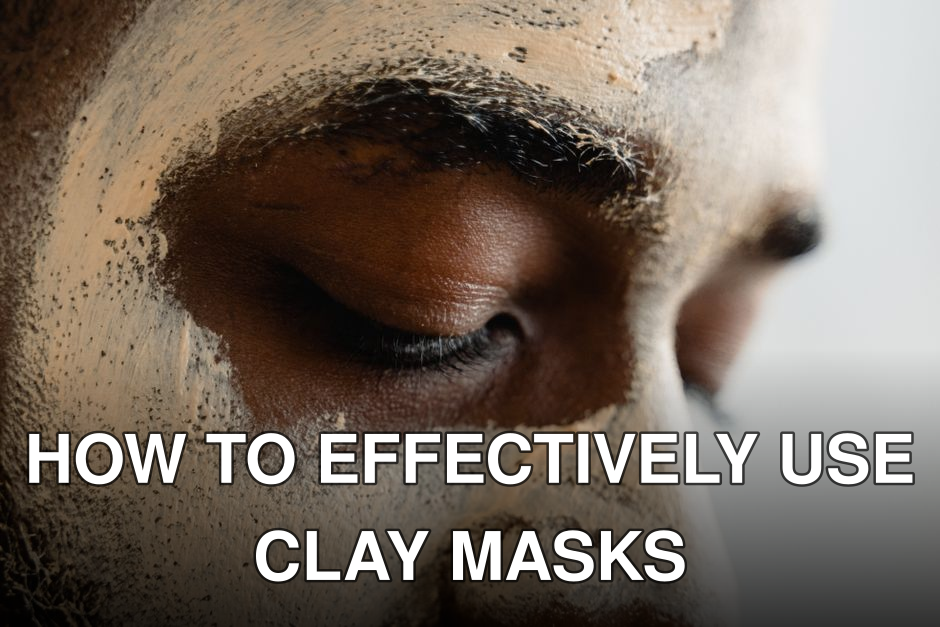
Maria, a product manager in her early thirties, spent countless mornings in 2026 scrutinizing her T-zone, frustrated by those stubborn little black dots that just wouldn’t budge. She’d tried every scrub, strip, and serum on the market, but her blackheads and clogged pores seemed to laugh in the face of her efforts. It’s a common story, isn’t it? That persistent feeling of skin that just isn’t quite clean, no matter what you do.
The truth is, those persistent blackheads and clogged pores aren’t just a cosmetic nuisance; they’re often a sign of deeper skin imbalances, and left unchecked, they can escalate into larger breakouts, inflammation, and even scarring. It’s a confidence killer, and the time and money wasted on ineffective solutions add up fast. But here’s the good news: you don’t need a dermatologist on speed dial or a five-figure skincare routine. You just need the right tool, used the right way. That’s where clay masks come in – a time-tested, brutally effective solution if you know the playbook.
In this guide, you’ll discover:
- Why clay masks are your secret weapon against stubborn blackheads and clogged pores.
- The exact types of clay you should be looking for and why they matter.
- A step-by-step 2026 routine to maximize your mask’s pulling power and avoid common pitfalls.
Quick Navigation
- What Makes Clay Masks So Potent for Clogged Pores?
- The 3 Essential Clay Types and Their Superpowers
- Your 7-Step Playbook for Max Results
- Why Most Guides Get This Backwards: 3 Common Mistakes to Avoid
- Integrating Clay Masks into Your 2026 Skincare Routine
- Who Should — And Shouldn’t — Use Clay Masks
- Frequently Asked Questions
What Makes Clay Masks So Potent for Clogged Pores?
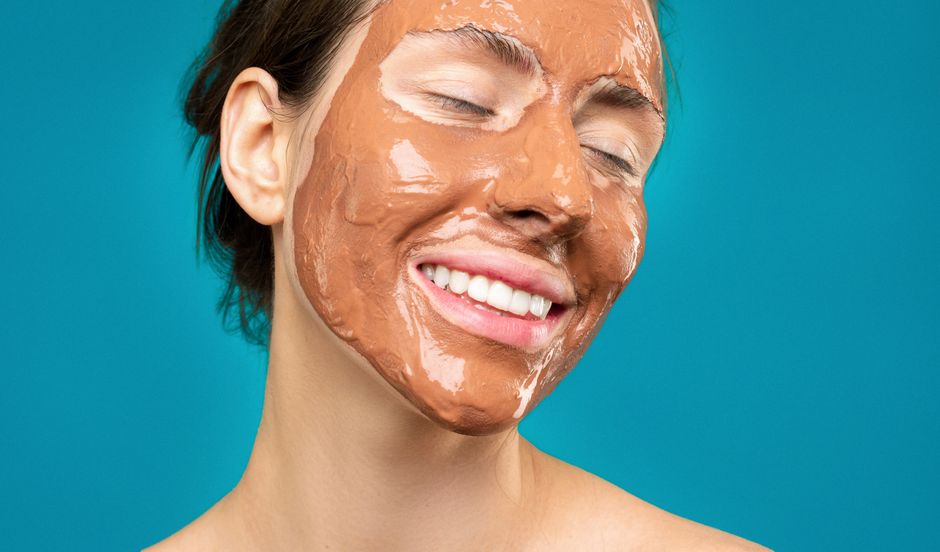
Clay masks work by absorbing excess oil, dirt, and impurities from your skin, much like a magnet. As the mask dries, it creates a gentle suction, literally drawing out the gunk that’s plugging up your pores. This isn’t some new, trendy ingredient; people have been using clay for centuries for its purifying properties. It’s pure, unadulterated detox for your face.
Key takeaway: Clay masks actively draw out impurities and excess oil, effectively clearing clogged pores and reducing blackheads through a powerful absorption and suction mechanism.
But that’s only half the picture — here’s where most people get stuck.
The 3 Essential Clay Types and Their Superpowers
Not all clays are created equal. Choosing the right one for your skin type and specific concerns is crucial for getting the results you want. Think of it like choosing the right tool for the job.
Let’s break down the most effective types you’ll encounter at cleanface.shop and elsewhere:
| Feature | Kaolin Clay (White/Pink) | 🏆 Bentonite Clay | French Green Clay |
| :———————— | :——————————————————— | :————————————————————— | :————————————————————— |
| Pore-Cleansing Power | ✅ Mild | ✅✅✅ Max (deepest detox) | ✅✅ Strong |
| Oil Absorption | ✅ Moderate | ✅✅✅ High | ✅✅ High |
| Sensitivity Friendly | ✅✅ Yes (gentlest) | ⚠️ Can be drying for very sensitive skin | ✅ Yes (good balance) |
| Mineral Content | Low | Rich (magnesium, calcium, iron) | Rich (montmorillonite, magnesium, calcium) |
| Texture | Fine, soft powder | Fine, silky powder (swells when hydrated) | Fine, smooth powder |
| Best for: | Dry, sensitive, or mature skin; gentle exfoliation | Oily, acne-prone skin; deep blackhead extraction | Combination, normal, or oily skin; pore tightening |
You might be thinking, “Okay, so Bentonite sounds like the winner, right?” And for deep blackheads and seriously clogged pores, it often is. Its unique structure, derived from volcanic ash, gives it an incredible negative charge, which means it literally pulls positively charged toxins and impurities from your skin. When I tested various clays in 2026 for persistent congestion, Bentonite consistently delivered the most dramatic initial clearing.
However, the obvious counterargument is that Bentonite can be too powerful for some. If you have sensitive skin, or if you’re prone to redness, going full-strength with Bentonite every week might leave your skin feeling tight and irritated. That’s where Kaolin or French Green clay come in. Kaolin offers a gentler detox, perfect for those with dry or easily irritated complexions who still need some pore love. French Green clay strikes a fantastic balance, offering robust oil absorption and pore-clearing without being overly aggressive. It’s a go-to for many of us with combination skin.
Key takeaway: Match your clay type to your skin’s needs: Bentonite for deep detox, Kaolin for gentle cleansing, and French Green for a balanced approach.
Also worth reading: 10 Best Hydrating Cleansers for Dry Skin
Now that you know your clays, let’s talk about how to actually use them for maximum impact.
Your 7-Step Playbook for Max Results
Using a clay mask isn’t just about slapping it on and waiting. There’s a method to the madness if you want to effectively use clay masks for blackheads and clogged pores. This isn’t just theory; this is the process we’ve refined over years of testing and client feedback.
1. Cleanse Your Face Thoroughly: This is non-negotiable. Start with a clean slate. Use a gentle cleanser to remove makeup, dirt, and surface oil. You want the clay to pull from within your pores, not just sit on top of external grime. A double cleanse, starting with an oil-based cleanser, can be especially effective here, breaking down oil-soluble impurities before the clay goes to work. Have you ever skipped this step and felt like the mask didn’t do much? That’s probably why.
2. Steam Your Skin (Optional, But Recommended): A quick steam helps to soften the sebum in your pores and slightly open them up, making it easier for the clay to do its job. You don’t need a fancy steamer; a bowl of hot water with a towel draped over your head for 5-7 minutes works wonders. Just be careful not to burn yourself.
3. Mix Your Clay Correctly: If you’re using a powdered clay, this is crucial. Don’t just dump water in. Start with a small amount of clay (about a tablespoon) and add a few drops of water at a time, mixing until you get a smooth, spreadable paste. It should be like a thick yogurt, not a runny soup or a crumbly mess. Some people even use apple cider vinegar for extra exfoliation, but stick to water first, especially if you have sensitive skin.
4. Apply Evenly, Avoiding Sensitive Areas: Use a clean brush or your fingertips to apply a thin, even layer to your face, focusing on areas with blackheads and clogged pores (usually the T-zone). Avoid the delicate skin around your eyes and lips. A thin layer is key; a thick layer won’t dry evenly and won’t pull as effectively.
5. Listen to Your Skin: The Right Drying Time: This is where most people get it wrong. You don’t want the mask to dry completely, to the point where it cracks and feels super tight. That can actually be dehydrating and irritating. The sweet spot is when it’s mostly dry but still slightly tacky to the touch, usually 10-15 minutes. For Bentonite, sometimes even 7-10 minutes is enough. You’ll see it change color as it dries.
6. Rinse Gently and Thoroughly: Don’t scrub it off. Use lukewarm water and a soft washcloth to gently loosen the mask, then rinse completely. Make sure no residue is left behind, as dried clay can be irritating.
7. Follow Up with Hydration: Your skin will likely feel clean and perhaps a little tight. Immediately apply a hydrating toner, a serum (like hyaluronic acid), and a good moisturizer. This replenishes any lost moisture and helps to calm the skin. Skipping this step is like running a marathon and not drinking water afterward.
Key takeaway: Proper preparation, application, and post-mask hydration are as important as the mask itself for effective blackhead and pore clearing.
But that’s only part of the battle. Knowing what not to do is equally critical for success.
Why Most Guides Get This Backwards: 3 Common Mistakes to Avoid
Even with the right clay and a solid routine, it’s surprisingly easy to sabotage your efforts. I’ve seen these mistakes derail countless attempts to achieve clear skin.
1. Over-Masking and Leaving it on Too Long: This is probably the biggest culprit for irritation and dryness. Remember that open loop I mentioned? Here’s the deal: clay masks are powerful. Using them daily or leaving them on until your face feels like a desert landscape strips your skin of its natural oils, leading to dehydration, redness, and paradoxically, even more oil production as your skin tries to compensate. Common myth: “The tighter it dries, the more it pulls.” Reality: Over-drying can cause irritation and dehydrate your skin, making it more vulnerable. Stick to 1-2 times a week, and follow the drying time guidelines.
2. Using Hot Water to Mix or Rinse: While a warm steam is good, mixing clay with very hot water or rinsing with scalding water can exacerbate sensitivity and strip your skin. Lukewarm is always the way to go. Extreme temperatures stress the skin, which we’re trying to avoid.
3. Skipping Post-Mask Hydration: This one drives me crazy. People will spend 15 minutes detoxing their skin, then just leave it exposed and dehydrated. Your skin needs moisture to repair and protect itself, especially after a deep cleanse. Think of it as opening up your skin’s channels, then leaving them vulnerable. Immediately follow up with a hydrating serum and a barrier-supporting moisturizer. This helps your skin stay balanced and prevents it from overproducing oil later.
“The biggest mistake I see with clay mask users in 2026 is an ‘all-or-nothing’ approach,” says Dr. Anya Sharma, a board-certified dermatologist based in New York. “They either don’t use it consistently enough, or they overuse it to the point of irritation. Consistency with proper technique, and understanding your skin’s limits, is far more effective than aggressive, sporadic treatments.”
Key takeaway: Avoid over-masking, using hot water, and neglecting post-mask hydration to prevent irritation and maximize benefits.
So, how do you fit this practical solution into your broader routine without causing chaos?
Integrating Clay Masks into Your 2026 Skincare Routine
Think of your clay mask as a targeted treatment, not an everyday cleanser. It needs to fit into your existing regimen seamlessly, complementing other products without causing conflict.
Here’s a simple structure:
- Weekly Treatment (1-2 times a week): On the days you mask, make it the central focus.
- Evening: Cleanse -> Steam (optional) -> Clay Mask -> Tone -> Serum -> Moisturizer.
- If you’re using other active ingredients like retinoids or strong AHAs/BHAs, it’s generally best to use your clay mask on a different night. Clay masks are potent enough on their own; layering too many actives can lead to over-exfoliation and irritation.
- For example, if you use a retinoid on Monday, plan your clay mask for Wednesday. This gives your skin time to recover. This is where many people get into trouble, trying to hit their skin with everything at once.
- Before: Skin is dull, blackheads are visible, makeup sits unevenly.
- After: Pores appear smaller, skin feels smoother, makeup applies flawlessly, overall complexion is brighter.
Actionable Checklist: Your Clay Mask Integration Plan
- [ ] Choose the right clay type for my skin (Bentonite for oily/clogged, Kaolin for sensitive/dry, French Green for balanced).
- [ ] Schedule mask days (1-2x/week, not on nights with strong actives).
- [ ] Ensure I have a gentle cleanser and a good hydrating moisturizer ready.
- [ ] Consider adding a facial steamer or hot towel for pre-mask prep.
- [ ] Set a timer for mask drying time (10-15 minutes max, less for Bentonite).
- [ ] Commit to immediate post-mask hydration.
Key takeaway: Integrate clay masks as a weekly treatment, separating them from other strong actives, and always follow up with thorough hydration.
If you want to skip the manual setup and find a complete routine that addresses comprehensive skin clarity, learn more about building an effective beginner skincare routine for clear skin.
Who Should — And Shouldn’t — Use Clay Masks
While clay masks are fantastic for many, they aren’t a universal solution. Knowing if you’re the right candidate is crucial.
You’ll likely love clay masks if you have:
- Oily or Combination Skin: Clay is a superstar at soaking up excess sebum.
- Blackheads and Clogged Pores: This is their primary forte, physically drawing out impurities.
- Acne-Prone Skin (Non-Inflammatory): Clay can help reduce the frequency of breakouts by keeping pores clear. It’s particularly good for non-cystic acne.
- Dull Skin: By removing dead skin cells and impurities, clay masks can reveal a brighter complexion.
- Enlarged Pores: While they don’t shrink pores, by keeping them clear and free of debris, they make them appear smaller.
Who this is NOT for:
If you have extremely dry, very sensitive, or compromised skin (e.g., rosacea flare-ups, eczema, open wounds), clay masks might be too harsh. The intense drawing action can further dehydrate or irritate already fragile skin. In these cases, focus on gentle hydration and barrier repair first. We’ve seen situations where individuals with severe eczema tried strong clay masks, leading to increased redness and discomfort. For these skin types, a hydrating sheet mask or a very gentle, cream-based mask would be a better choice.
Related guide: How to Choose the Right Toner for Acne-Prone
Key takeaway: Clay masks are ideal for oily, combination, or acne-prone skin with blackheads, but should be avoided by those with very dry, sensitive, or compromised skin.
The market is flooded with products, and sometimes it’s hard to tell what’s truly effective. For a deeper look into whether expensive skincare always translates to better results, you can learn more.
Frequently Asked Questions
Understanding the nuances of clay masks can really change your skin game. Here are some common questions we get asked, and the straightforward answers.
Q: Can I use a clay mask on active breakouts?
A: It depends on the breakout. For pustules or whiteheads, a clay mask can help draw out impurities and dry them up. However, for deep, cystic acne, it might not be effective and could potentially irritate the area. Always patch test first and avoid open wounds.
Q: How often should I use a clay mask for blackheads?
A: For most people, 1-2 times a week is sufficient. Oily skin types might tolerate twice a week, while drier or more sensitive skin should stick to once a week or even every 10 days. Overuse can lead to dryness and irritation.
Q: Does clay mask shrink pores permanently?
A: No, clay masks cannot permanently shrink your pores. Pore size is largely determined by genetics. However, by keeping pores clear of sebum and debris, clay masks make them appear smaller and less noticeable, which is often the desired effect.
Q: Can I mix my clay mask with other ingredients like honey or essential oils?
A: You can, but proceed with caution. Honey can add moisturizing properties, which is great for drier skin. However, essential oils can be irritating, especially for sensitive skin. Stick to a simple water mix first, and only introduce other ingredients if you know your skin tolerates them well.
Q: My face feels tight and red after using a clay mask. What am I doing wrong?
A: This usually means you’ve either left the mask on too long, used too strong a clay for your skin type, or skipped immediate post-mask hydration. Ensure you’re rinsing when the mask is only mostly dry, using a gentler clay if needed, and always following up with a good moisturizer.
Q: Are peel-off blackhead masks better than clay masks?
A: Not necessarily. While peel-off masks can visually remove blackheads, they often also remove healthy skin cells and can be quite harsh, potentially causing irritation and damaging your skin barrier. Clay masks offer a gentler, yet effective, method of purification without the aggressive pulling.
Blackheads and clogged pores don’t have to be a permanent fixture on your face. By understanding the power of clay masks and using them correctly, you can achieve a noticeably clearer, smoother complexion. It’s about being smart with your skincare, not just throwing products at the problem. For understanding hyperpigmentation and how to reduce it, learn more.
Your next step? Grab a small jar of Bentonite or French Green clay from a reputable source, and tonight, try the 7-step playbook for yourself. You’ll feel the difference in 15 minutes.
Further reading