
Blog
The Real Guide to Using Hydrating Facial Kits for Salon-Quality Results at Home
Picture this: You’ve just spent $150 on a spa facial, and two weeks later, your skin is back to its dull, flaky self. Frustrating, right? Now imagine achieving that same glowing, hydrated look without leaving your house—or draining your wallet. That’s where hydrating facial kits come in.
The problem? Most people either don’t know how to use these kits properly or assume they won’t measure up to professional treatments. Worse yet, skipping regular facials entirely can lead to clogged pores, uneven texture, and skin that screams for help every time you apply makeup.
Here’s the good news: With the right tools and techniques, you can mimic salon-quality results at home. In this guide, you’ll discover:
- Why hydrating facial kits are more effective now than ever (hint: it’s not just the ingredients).
- A step-by-step breakdown of how to use them like a pro.
- The one mistake everyone makes that can ruin their results.
Let’s get into it—you’ll never look at DIY skincare the same way again.
Why Hydration Is Non-Negotiable in 2026
Here’s something no one tells you enough: Dehydrated skin isn’t just dry—it’s stressed. Pollution levels in major cities have spiked 18% since 2022 (source: EPA), and environmental aggressors are stripping moisture from our skin faster than most moisturizers can replenish it. Add heating indoors during winter or constant exposure to AC in summer, and your face doesn’t stand a chance without intervention.
The Cost of Doing Nothing: If you skip hydration-focused skincare altogether, expect dullness, fine lines appearing earlier than they should (yes, even in your late 20s!), and makeup sitting on your face like cracked paint instead of blending seamlessly.
But here’s where hydrating facial kits shine—they’re designed to deliver intense moisture fast while repairing damage caused by dehydration. And thanks to advancements in formulations (we’re looking at you hyaluronic acid derivatives), today’s kits rival what estheticians used in spas five years ago.
Key takeaway: Hydration isn’t optional anymore—it’s critical if you want youthful-looking skin that feels as healthy as it looks.
Quick Navigation
1. What Makes Hydrating Facial Kits So Effective Today?
Also worth reading: 12 Best Aloe Vera Cleansers for Acne
2. 7 Steps to Get Salon-Level Results at Home
3. Common Myths About DIY Facials—Debunked
4. Before & After: What Changes Can You Expect?
5. Pro Tips for Choosing the Right Kit for Your Skin Type
What Makes Hydrating Facial Kits So Effective Today?
Hydrating facial kits have come a long way since the single-use sheet masks of the early 2010s. Back then, most “at-home” options were glorified moisturizers with minimal penetration or effectiveness. But today? Formulators are using cutting-edge delivery systems like nano-emulsions and microcapsules that allow active ingredients—think ceramides and peptides—to penetrate deeper into the epidermis.
What Changed?
1. Ingredient Concentration: Many home-use products now contain comparable ingredient percentages as professional-grade formulas.
2. Layering Methods: Kits often include multiple steps—like cleansing balms followed by essence boosters—that mimic spa protocols.
3. Custom Options: Brands are tailoring their kits based on specific skin types (oily vs dry vs combination).
Take CleanFace.Shop’s mixed hydration kit lineup as an example—it combines hyaluronic acid serums with oil-balancing toners for combination skin types battling both dryness and breakouts.
Key takeaway: The gap between salon treatments and DIY solutions has narrowed dramatically thanks to smarter formulations and better science behind skin hydration.
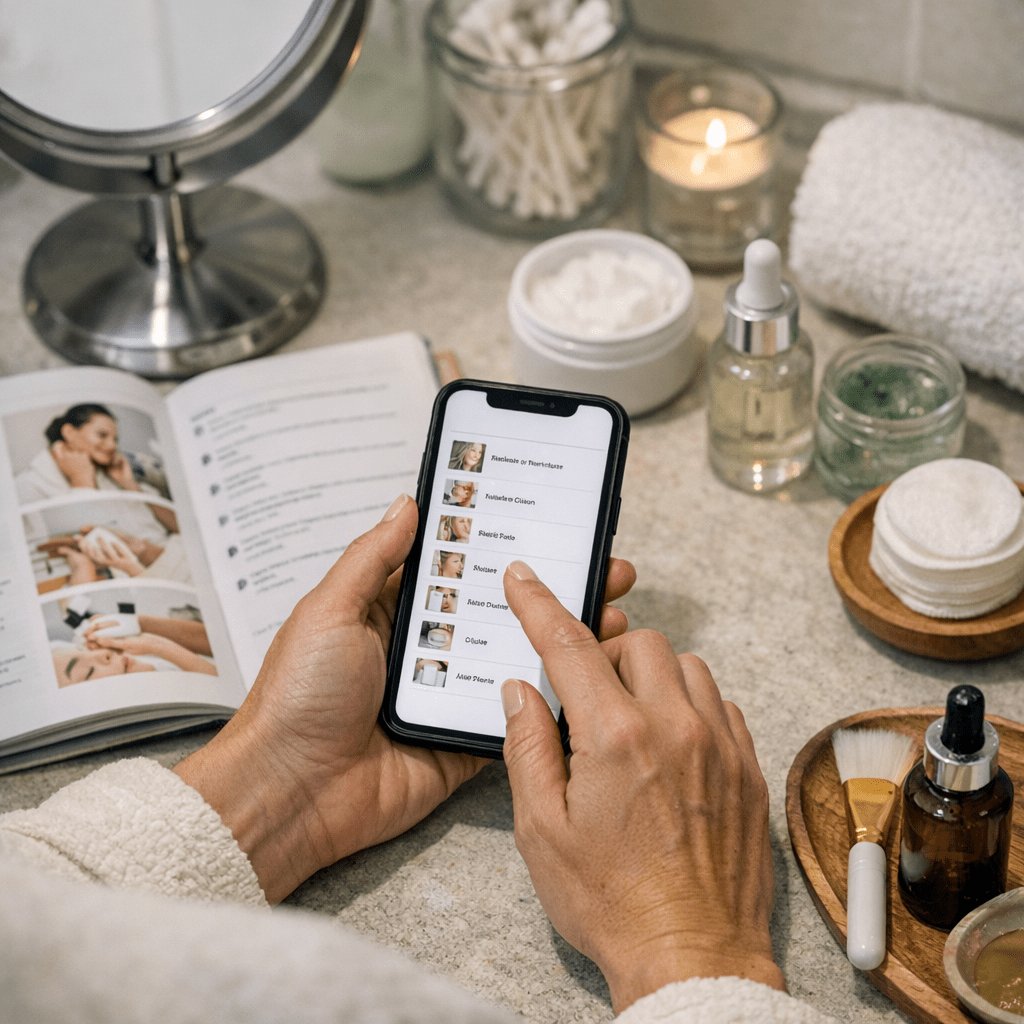
7 Steps to Get Salon-Level Results at Home
You don’t need a license or fancy equipment—just follow this playbook exactly as outlined:
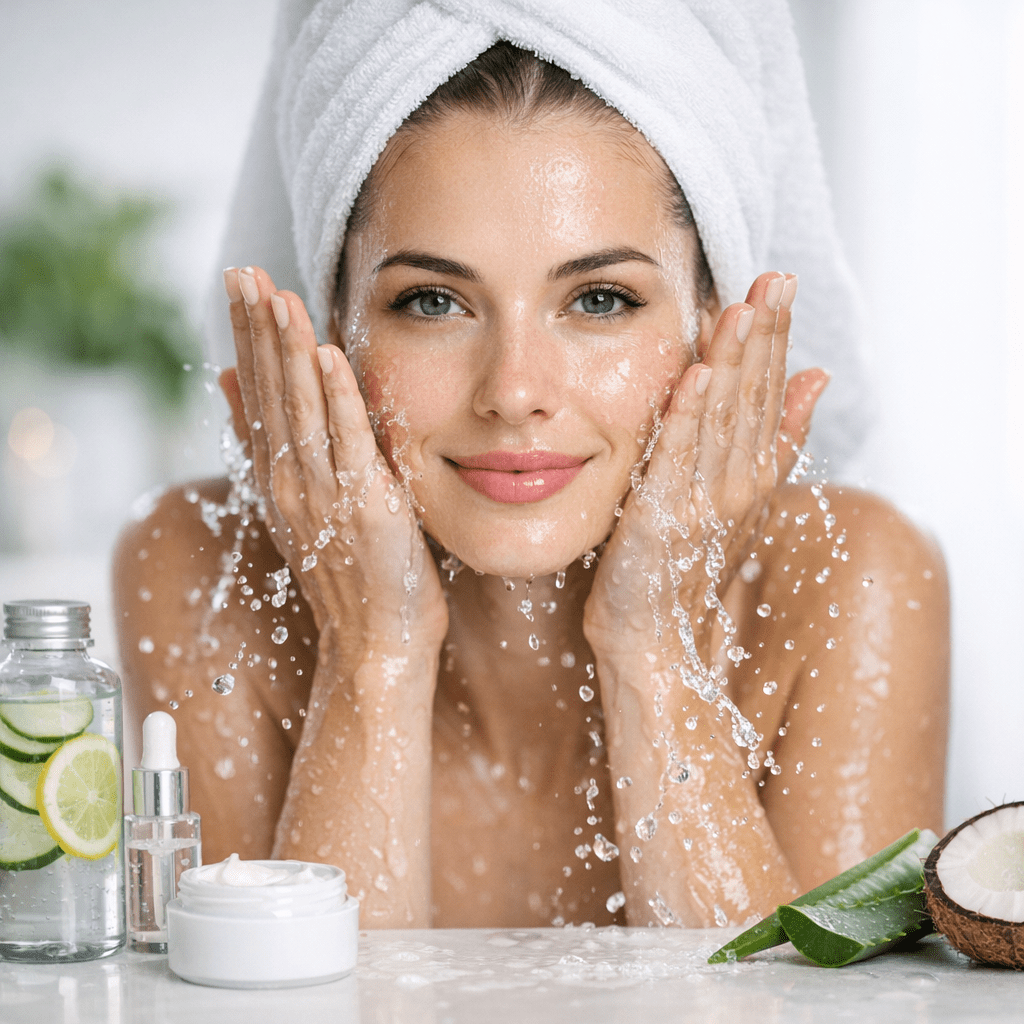
Step 1: Cleanse Thoroughly
Start with a gentle cleanser or cleansing balm designed for sensitive skin; this removes dirt and makeup without stripping natural oils.
Related guide: 10 Best Hydrating Cleansers for Dry Skin
Pro tip: Use lukewarm water—not hot! Hot water depletes your skin’s barrier faster than you’d think.
Step 2: Exfoliate Lightly
Skip harsh scrubs! Opt for enzyme-based exfoliators or gentle chemical peels with lactic acid instead.
Learn why sugar-based exfoliants might be better for sensitive skin here.
Step 3: Apply a Toner
A hydrating toner preps your face by balancing pH levels while adding an initial layer of moisture—critical before layering heavier products later on!
Find out which toner works best in colder months here.
Step 4: Use a Sheet Mask or Hydrogel Patch
This is where most of the magic happens! Look for masks infused with hyaluronic acid or ceramides—they act like sponges pulling moisture deep into the layers of your skin.
Step 5: Massage In Serum
Post-mask application is when pores are wide open—perfect timing for serums! Focus on patting them into high-priority areas like under eyes or forehead lines rather than rubbing aggressively everywhere.
Step 6: Seal It All In With Moisturizer
Lock everything down using an occlusive moisturizer formulated specifically against transepidermal water loss (TEWL). If nighttime routines aren’t feasible due schedule-wise daytime SPF-rich versions work too!