
Blog
How to Create a Spa-Worthy Experience with At-Home Facial Kits: Practical Playbook with Real Examples
Picture this: soft music playing in the background, a lightly scented candle flickering nearby, and your skin glowing like you just walked out of an upscale spa. Sounds dreamy, right? But here’s the kicker—you don’t need to leave your house (or empty your wallet) to make it happen. With the right at-home facial kits and a little planning, you can recreate that luxurious experience right in your bathroom.
Let’s break down how to elevate your skincare game and bring that spa-like indulgence home.
—
The Basics: Why an At-Home Facial?
We’re all chasing that fresh-faced, post-facial glow. But heading to the spa every month can easily cost $100–$300 per session in 2026. Not exactly budget-friendly if you’re trying to stick to regular treatments. That’s where at-home facial kits come in—they’ve leveled up in recent years, offering pro-level results without requiring a licensed esthetician.
But let’s be real for a second: not all kits are created equal. Some are genuinely transformative, while others feel like overpriced gimmicks slapped with fancy branding. Knowing what works (and what doesn’t) is key to getting results that’ll have people asking, “What’s your skincare secret?”
—
Step 1: Create the Right Atmosphere
Before we dig into products and techniques, let’s talk vibe. You can’t slap on a face mask while doomscrolling Twitter and expect it to feel like a spa day.
Here’s what you’ll need:
- Lighting: Dim the lights or use candles for that soft glow.
- Aromatherapy: Essential oils like lavender or eucalyptus work wonders—just add a few drops to a diffuser.
- Music: Think calming playlists on Spotify or even white noise apps.
- Warm Towels: Heat them up in the microwave for about 20 seconds (don’t burn yourself!) and drape one over your face before starting.
This setup might sound extra, but trust me—it makes all the difference.
—
Step 2: Master Your Cleansing Routine
No good facial starts without a clean slate. Skip this step, and you’re basically wasting every product you apply afterward.
Start with double cleansing—a practice borrowed from Korean skincare (and worth its hype). Use an oil-based cleanser first to melt away sunscreen and makeup, followed by a water-based cleanser for any leftover dirt or impurities. If you’re new to double cleansing or unsure how it works, learn more.
Pro tip: If you’ve got sensitive skin, look for sulfate-free cleansers that won’t strip your natural oils.
10 Best Hydrating Cleansers for Dry Skin Under $30: Practical Playbook with Real
—
Step 3: Exfoliate Like You Mean It
Next up is exfoliation—a non-negotiable step for smooth skin. Dead skin cells build up over time, making your complexion dull no matter how many serums you layer on top.
Now here’s where things get tricky: over-exfoliating does more harm than good. Stick with gentle exfoliants no more than twice per week unless you’re using something super mild daily (like rice polishes). Need ideas? Check out these 12 best gentle exfoliating polishes under $30.
Chemical exfoliants (AHAs/BHAs) work well if you want something effortless—just swipe on before bed—but physical scrubs can give instant results if handled carefully.
—
Step 4: Steam Without Overdoing It
Steaming loosens pores and preps your skin for better absorption of serums and masks—but there’s such thing as too much of a good thing here! Limit steaming sessions to about five minutes max; anything longer risks drying out your skin or causing irritation.
No fancy steamer? No problem:
1. Boil some water.
2. Pour it into a bowl.
3. Drape a towel over your head as you lean into the rising steam (not too close!).
Some people swear by adding herbs like chamomile or green tea leaves for extra benefits—but honestly? Regular steam works just fine.
—
How to Choose the Right Toner for Acne-Prone Skin: Practical Playbook with Real
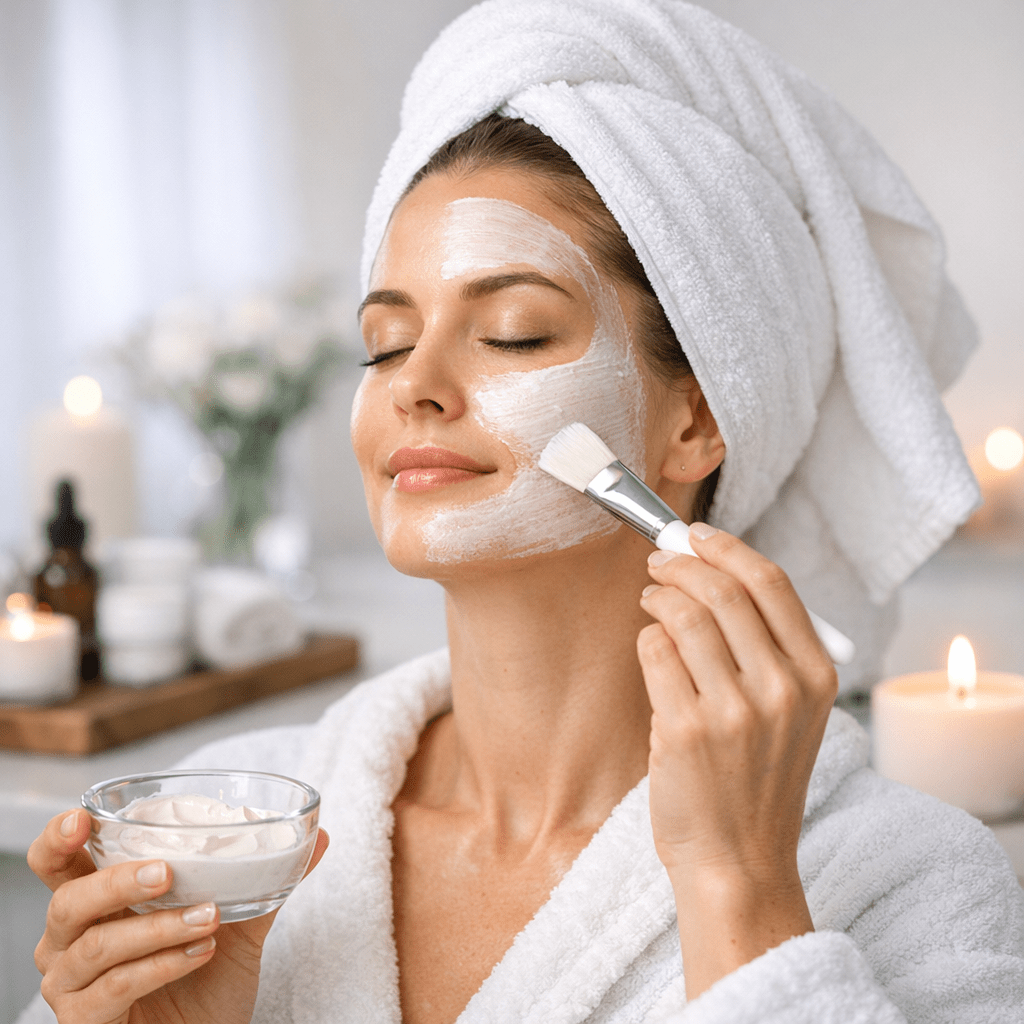
Step 5: Pick Your Mask Wisely
Masks are where things get fun—and highly customizable based on what your skin needs today:
- Hydration: Dry patches? Look for sheet masks loaded with hyaluronic acid.
- Detoxification: Charcoal or clay masks help clear clogged pores but might feel too harsh if used often.
- Brightening: Masks with vitamin C can help fade dark spots over time.
If you’re indecisive or feeling adventurous, try multi-masking—using different types of masks on specific areas of your face (e.g., charcoal mask for oily T-zone + hydrating mask on dry cheeks).
One underrated trick I swear by? Applying masks after steaming ensures they penetrate deeper—and honestly feels so much more effective than slapping one onto cold skin.
—
Step 6: Tone Up!
Toners often get skipped because they seem… optional? But trust me—this step is underrated when done right. A good toner balances pH levels post-cleanse while prepping skin for whatever comes next (serums! moisturizers!).
Not sure which toner fits best? Hydrating toners work universally well—especially those packed with glycerin or aloe vera extracts. For pore-minimizing tips using toners effectively at home, learn more.
I’ll admit I used to roll my eyes at toners until testing them consistently—and wow—the difference they make is subtle but noticeable over time!
—
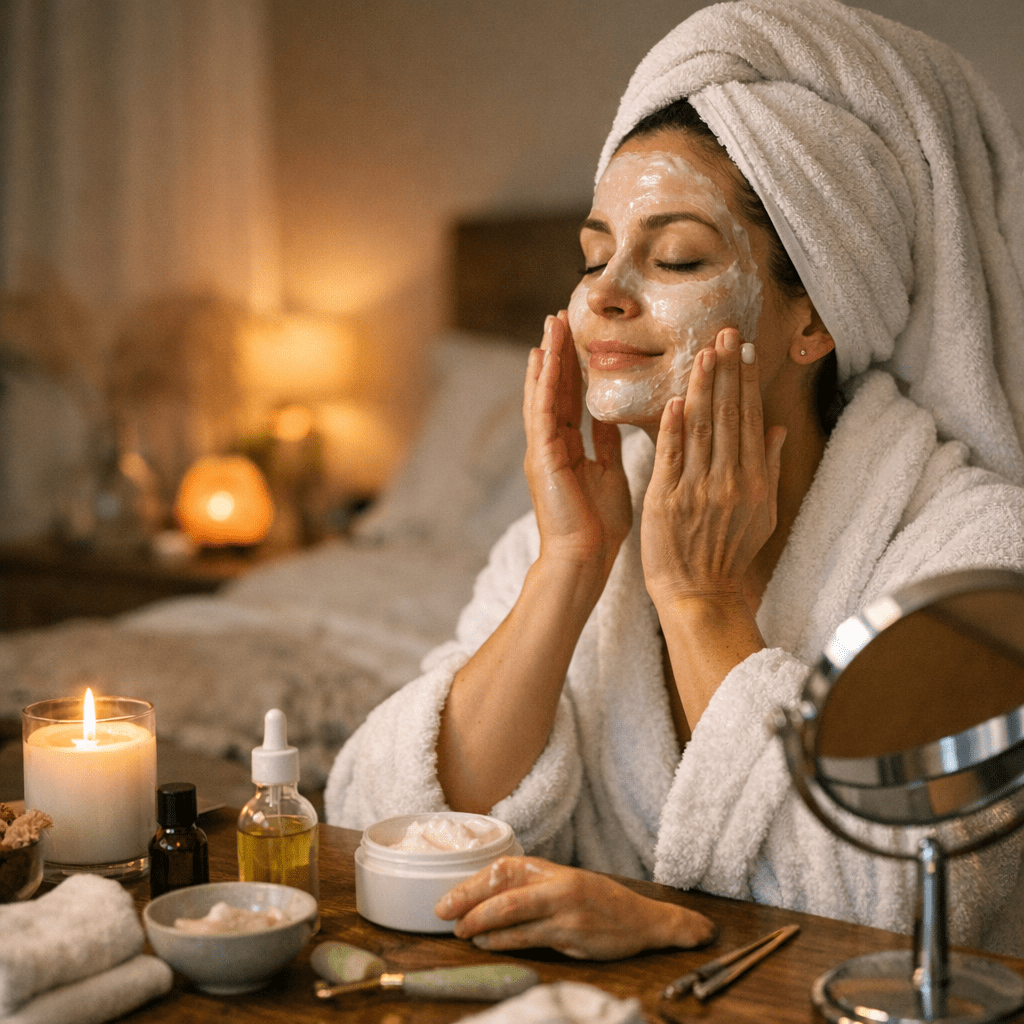
Step 7: Lock It In With Serums & Moisturizers
Here comes the heavy lifting—serums targeted at specific concerns will do most of the “treatment” work:
- Fine lines/wrinkles → Retinol-based serums
- Redness → Niacinamide
- Brightening → Vitamin C
Top everything off with moisturizer tailored either towards daytime SPF protection OR nighttime hydration-focused formulas depending upon whether daytime/nighttime routine focus applies accordingly then seal properly overall!!
Related Links